How it comes together
6 steps, one at a time
1 hour 45–75 min for a first-timer
-
01 Slide the address card in place
-
02 Wax the thread and fit two needles
-
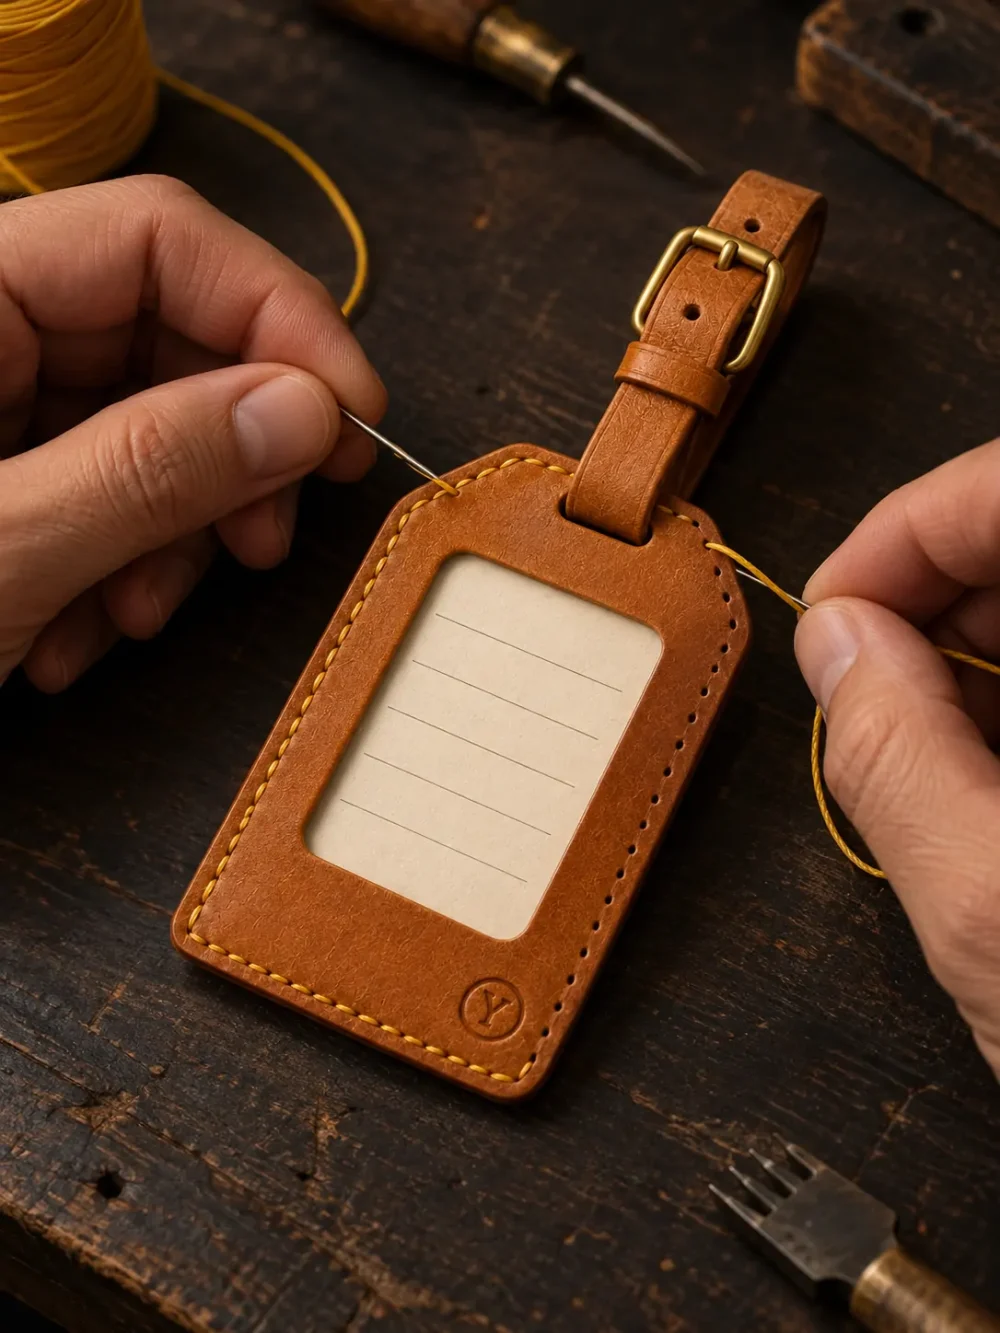
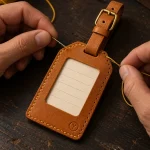
03 Stitch the sides and the bottom
-
04 Lock and trim
-
05 Fit the buckle to the strap
-
06 Rub the edges
1 / 6
Everything this kit takes
Materials
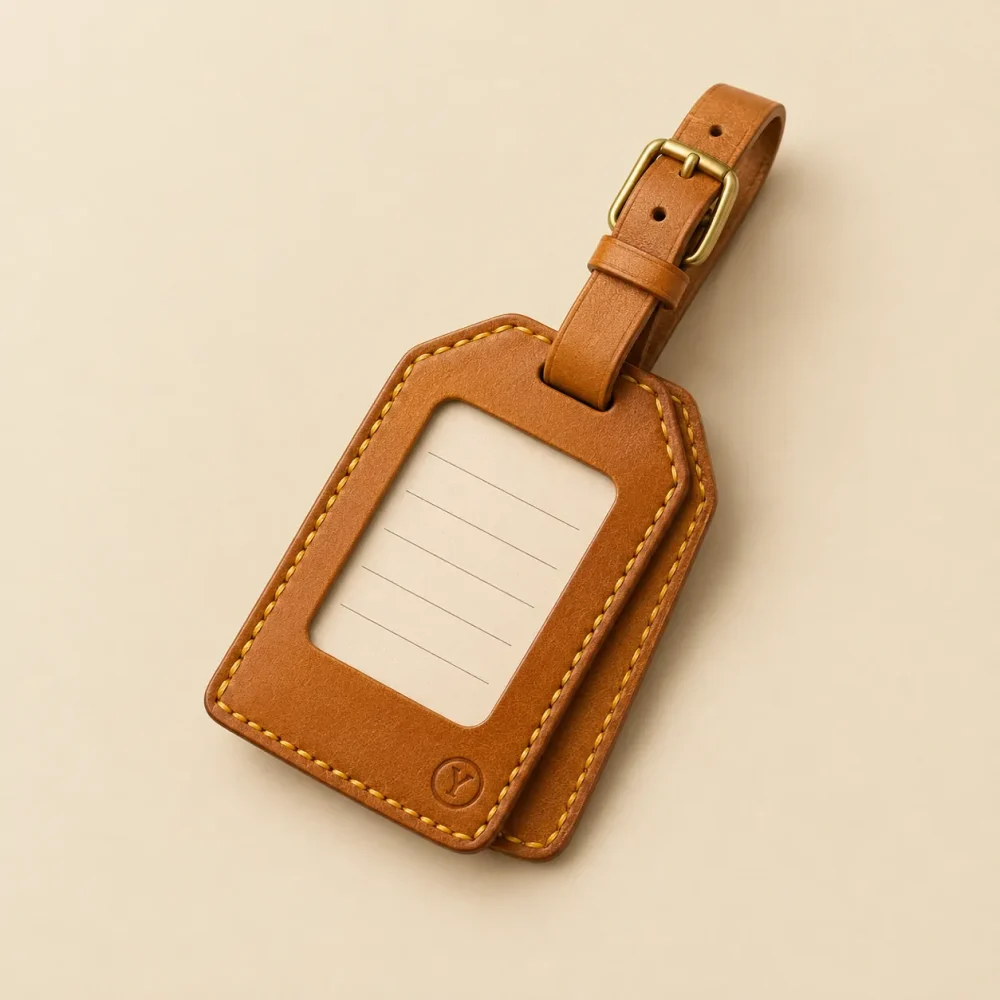
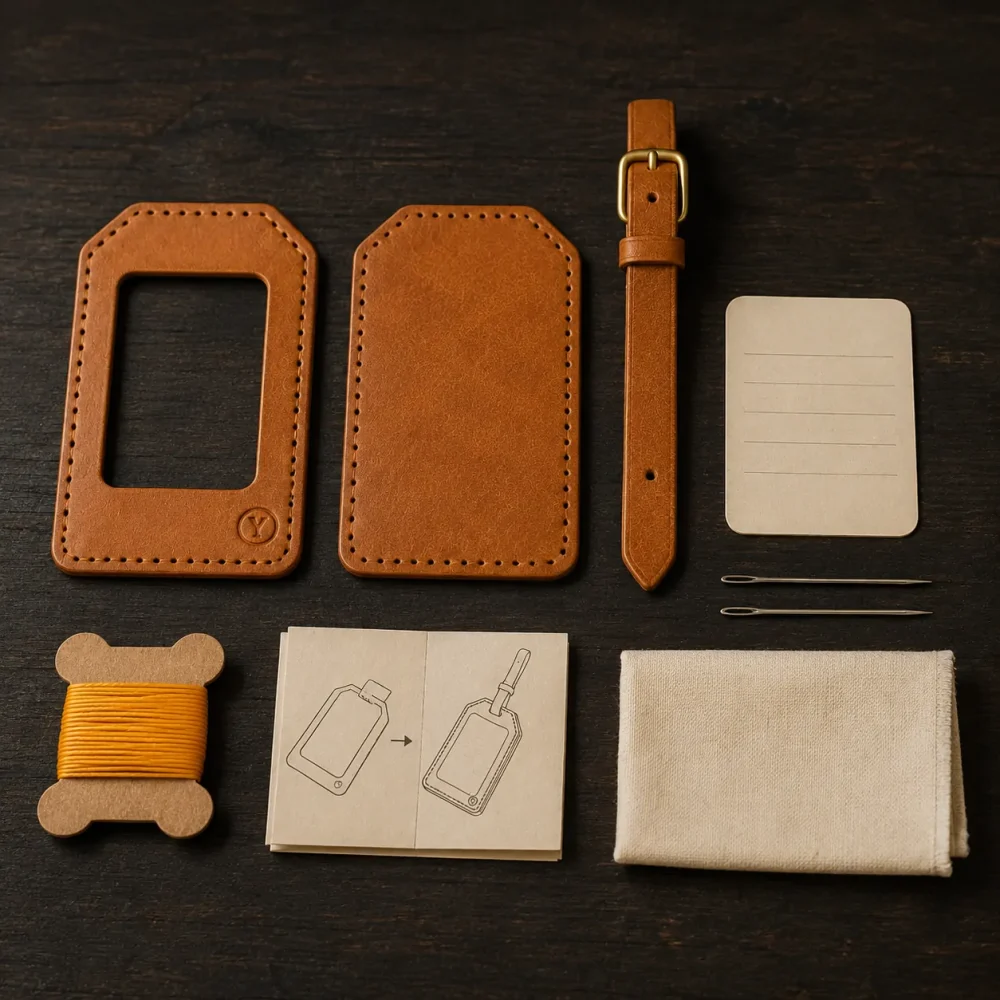
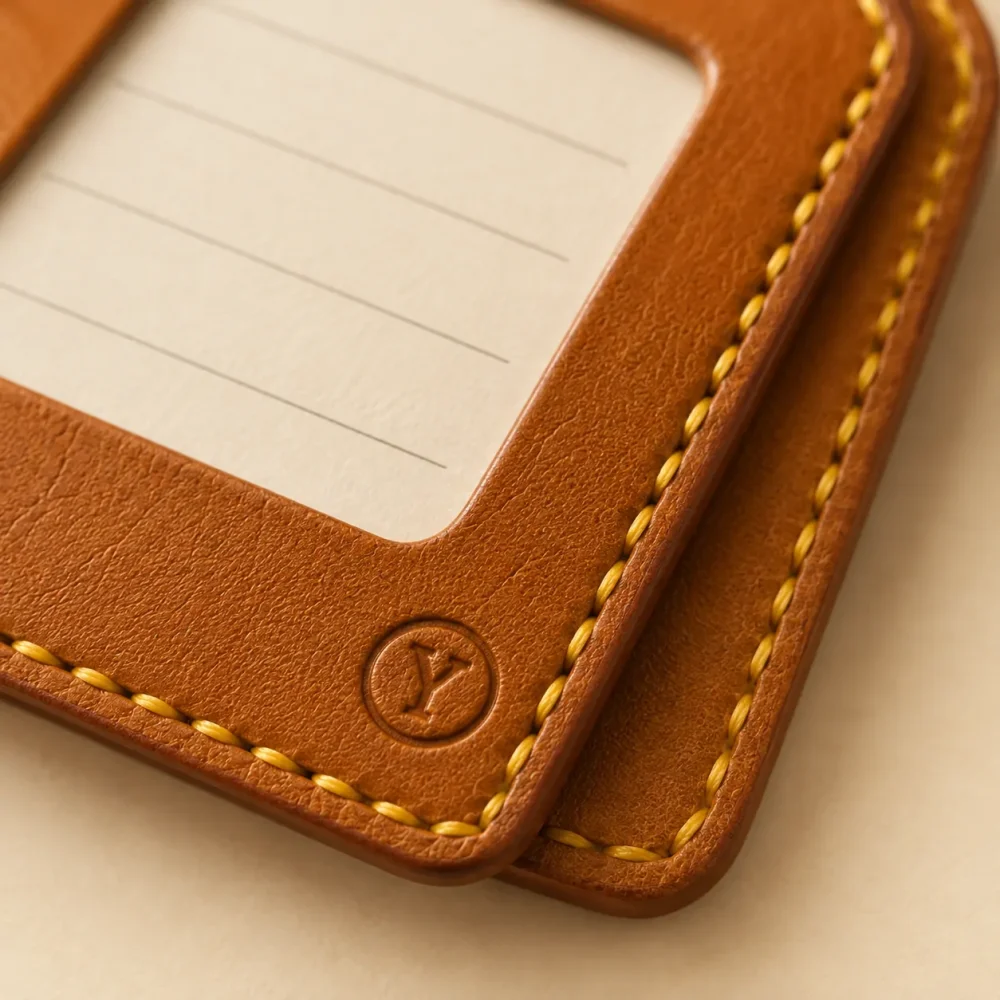
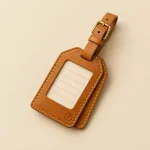
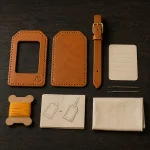
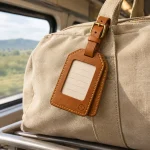
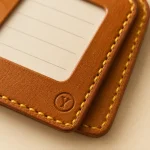
Vegetable-tanned cowhide, 2.0 mm thick, pre-cut and pre-punched at a 4 mm diamond pitch; edges pre-bevelled. Waxed braided polyester thread, 0.6 mm. Hardware: brass buckle, blank address card. Natural leather: small scars, growth marks and shade differences between pieces are normal and are not faults.
Care
Vegetable-tanned leather darkens and softens with use and light. Keep it dry; if it gets wet, let it dry slowly away from heat. Rub in a little beeswax balm once or twice a year. Water can leave marks on natural leather.
Product safety
Contains blunt needles and small parts (rings, studs). Not a toy: keep small parts away from children under 3; younger makers need an adult. No knife needed: every piece is pre-cut and pre-punched.
Responsible business: LEATHER 4 CRAFT LIMITED, 126 Wish Hill, Willingdon, East Sussex, BN20 9HL, United Kingdom · support@yovarel.shop · Tool safety
Delivery and returns
Every order ships with tracking to the countries listed on our shipping page. You can return unused items within 30 days of delivery, and you have a 14-day legal right of withdrawal. Shipping · Returns & Refunds